
8 Steps To Installing Your Windows
August 15, 2021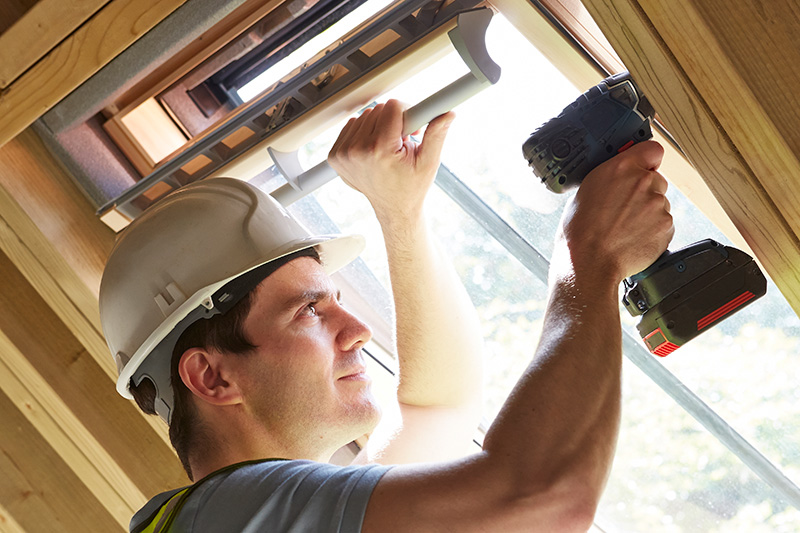
If just hearing the word DIY makes you giddy, and if you know the difference between a mitre saw and a saw horse — then you should consider installing your own windows. While this task should ideally be left to professional installers, individuals that know their way around a toolbox can save money when buying windows if they install the windows themselves.
In just a few steps and some teamwork, you can have your windows installed on your own without having to pay for installation. This guide runs you through these steps and will leave you with windows looking like they were installed professionally.
- Make sure the width of the rough opening at the top, middle and bottom of the frame and the height at both sides and the middle of the frame differs by no more than 1 inch. (If it does, use tapered filler strips nailed to the opening to even out.) Also ensure that the outer dimensions are ¾ inch and ½ inch narrower and shorter at a minimum than the width and height measurements.
- To waterproof, cut four six-inch-wide strips of waterproof membrane; one to a length of
1½ to 2 feet longer than the width of the window, two of a length one foot longer than the height of the opening, and one of a length one foot longer than the width of the opening. Adhere the first to the existing house wrap beneath the rough opening, the second two along either side of the opening, and the final across the top of the opening (all should overlap). - On the window unit itself, unfold the nailing fins until perpendicular to the frame, then fit the sill into the base of the opening. Tip the unit into the opening and bring all fins flush against the outer wall. Make sure the space between the sides of the unit and the jack studs are even on either side. Secure the nailing fin at one corner without nailing all the way in.
- Ensure the unit is level on each lower corner, tacking each into the fin once level. Measure the window diagonally to ensure the window is square and adjust temporary nails until within 1/16 of an inch.
- Nail (all the way) each corner and check one final time for levels and square. Make sure the side jambs are not bowed by measuring horizontally at various spots along the frame. Nail every other pre-punctured hole on the nailing fin to secure sides, top, and bottom.
- To seal the outside, cut three more six-inch-wide strips of waterproof membrane; one of a length one foot longer than the window’s width, the other two of a length one foot longer than the window’s height. Secure the first beneath the window to obscure the nailing fin, the other two on either side (again, overlapping the bottom strip).
- Cut and shape metal flashing, then fit to hang ¼ inch over the front and sides of the casing and reaches 3 inches up the wall. Secure using roofing nails and waterproof membrane. If snap-in flashing has been provided, fasten to casing by applying caulk to the top edge of the window and pressing into place.
- To insulate against draughts, first fit the sash into the window frame. On the interior, apply a bead of minimally expanding polyurethane foam inside the gap between window and frame. Allow to expand and cure for one hour before adding more, repeating the process until the gap is filled. If insulation is fiberglass, cut battling slightly wider than the gap between window and frame, then push the battling into the gap with a putty knife. Cover space with aluminum tape. (If space is too narrow than either, seal with caulk.)
For more information on how to install windows from SAHR Building Supply, please contact us here or call us directly at 855.724.7934.
Tags:
Categories: Blog